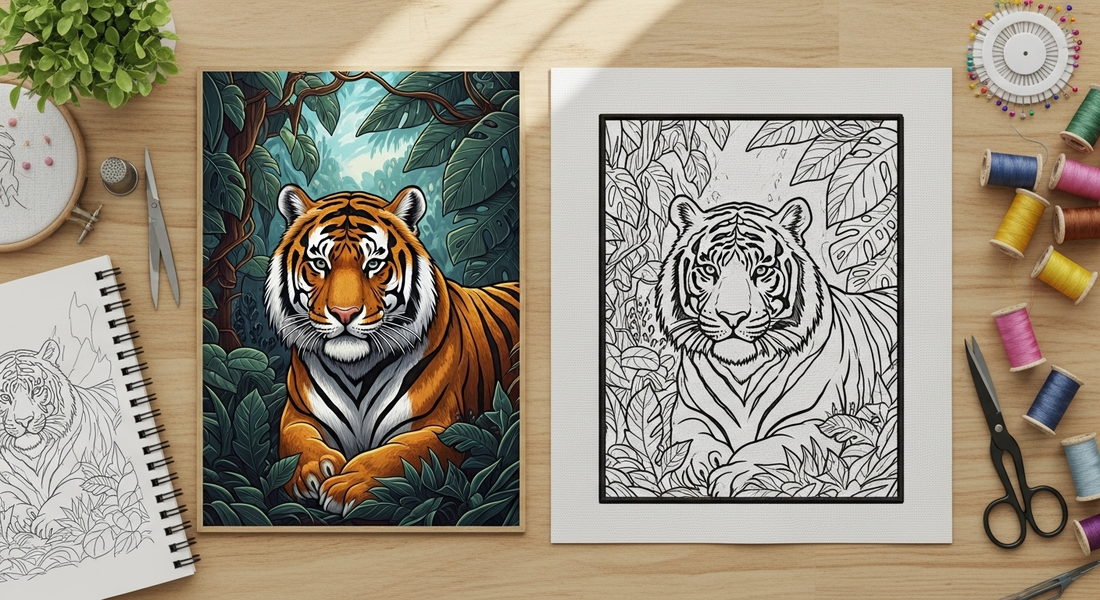
Simplifying Complex Art for Embroidery
Share
Not all artwork is embroidery-ready—especially highly detailed, shaded, or photorealistic illustrations. While these designs might look beautiful on paper or screen, translating them into stitches requires thoughtful simplification and adaptation. Machine embroidery has physical and technical limitations, so simplifying your artwork is a key skill in achieving clean, functional, and visually compelling stitch-outs. In this article, we’ll guide you through the process of simplifying complex art for embroidery success.

1. Why Simplify Artwork?
Complexity Can Cause:
- Thread buildup or puckering
- Unreadable details at small sizes
- Increased stitching time and thread breaks
- Misalignment or distortion on soft fabrics
Simplification ensures better performance, faster production, and clearer results.
2. Identify Essential Elements
Start by separating the “must-haves” from the decorative extras:
- What parts define the image’s identity?
- Can shadows, textures, or fine lines be implied rather than stitched?
Keep:
- Key shapes
- Main outlines
- Recognizable features (eyes, logos, borders)
Remove or Merge:
- Unnecessary patterns
- Background clutter
- Overlapping gradients or highlights

3. Limit Colors and Layers
Using too many thread colors complicates stitching and increases production time. Instead:
- Reduce color count to 3–6 shades
- Use contrast and spacing to imply depth
- Simplify shading and highlights with fill direction or stitch angle changes
Pro Tip: Replace shadows and light effects with darker or lighter thread tones rather than extra shapes.
4. Adjust Scale and Proportions
Small details don’t translate well in embroidery:
- Increase the size of tiny elements (like eyes, hands, buttons)
- Thicken lines to make them visible in thread
- Space out overlapping parts
Text, lines, and borders should be no thinner than 1–1.2mm for visibility and stitch stability.
5. Use Appropriate Stitch Types
Choose stitches that emphasize your simplified artwork:
- Satin stitch for bold shapes and text
- Running stitch for outlines or sketchy styles
- Fill stitch for larger areas, but with lower density to reduce weight
Let the direction of stitching imitate shadows, movement, or textures.

6. Use Software to Test and Preview
Your digitizing software is a powerful visualization tool:
- Zoom in to check stitch paths
- View in 3D preview mode
- Simulate stitching order and speed
Refine your design before exporting the final file.
7. Stitch It, Then Simplify More
Always do a test stitch-out:
- Take note of what's missing, unreadable, or too heavy
- Remove or modify further
- Simpler designs tend to look cleaner and more professional once stitched
Conclusion
Great embroidery design isn’t about capturing every detail—it’s about communicating the essence of the artwork through thread. By reducing complexity, adjusting scale, limiting colors, and using appropriate stitches, you’ll create designs that are easier to produce and more impressive to wear or display. In embroidery, less really is more.