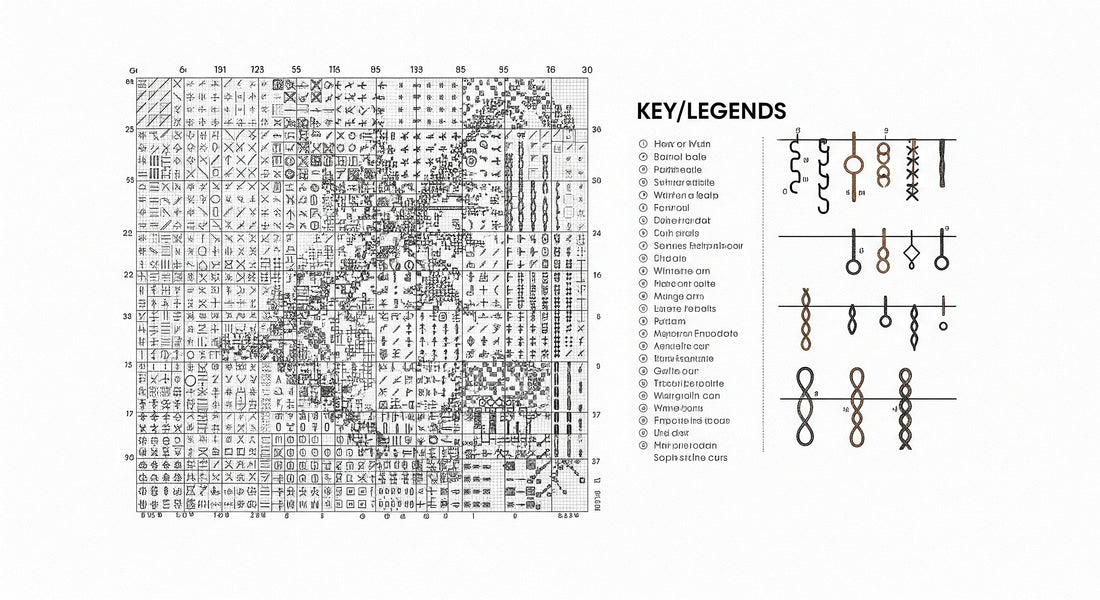
How to Read Embroidery Pattern Symbols
Share
A Beginner’s Guide to Charts, Keys, and Stitch Markings
Embroidery patterns often come with a visual map of symbols, colors, and stitch directions. Whether you’re following a printed chart or a digital file, learning how to interpret these symbols is key to getting your design right. This guide will help you read patterns with confidence and avoid common mistakes.

1. What Are Pattern Symbols?
Pattern symbols are used to:
· Identify stitch types
· Indicate color choices
· Show thread counts or strand numbers
· Guide stitch direction or sequence
They are especially common in:
· Cross-stitch and counted embroidery
· Digital machine embroidery files (within software previews)
· PDF pattern instructions
2. Common Symbol Types
Stitch Type Symbols
· ░ or / = Half stitch
· X = Full cross-stitch
· | = Straight stitch
· ∞ = French knot
· O = Lazy daisy
Each designer may use different icons, so always check the legend (key).
Color & Thread Symbols
· Colors are shown as either symbols or actual thread numbers (e.g., DMC 310 = black)
· Some charts use colored squares with symbols inside
· Always refer to the brand-specific color chart or key provided
Directional Arrows
· Arrows or lines may show where to start or which direction to stitch
· Curved arrows indicate backstitch flow or chaining

3. How to Use the Key (Legend)
Every embroidery pattern includes a key (also called a legend), which matches symbols to:
· Thread brand and number
· Stitch type
· Strand count (e.g., 2 strands of DMC 434)
Tip: Highlight or mark off symbols as you complete sections to stay organized.
4. Reading Machine Embroidery File Symbols
If you're working with machine embroidery software (like Embrilliance or Hatch), pattern previews may use:
· Color swatches or blocks (in stitching sequence)
· Stitch count per color
· Technical settings (density, pull compensation)
Always simulate the design before stitching to confirm proper interpretation.

5. Common Mistakes to Avoid
· Ignoring the key or using the wrong thread number
· Miscounting stitches (especially in counted cross-stitch)
· Overlooking directional indicators for special stitches
· Using the wrong number of strands
Final Thoughts
Understanding how to read pattern symbols makes embroidery more enjoyable and error-free. Whether you’re interpreting hand-stitched motifs or preparing machine files, taking time to read the chart saves time—and improves results.
Now you're ready to tackle patterns with confidence!