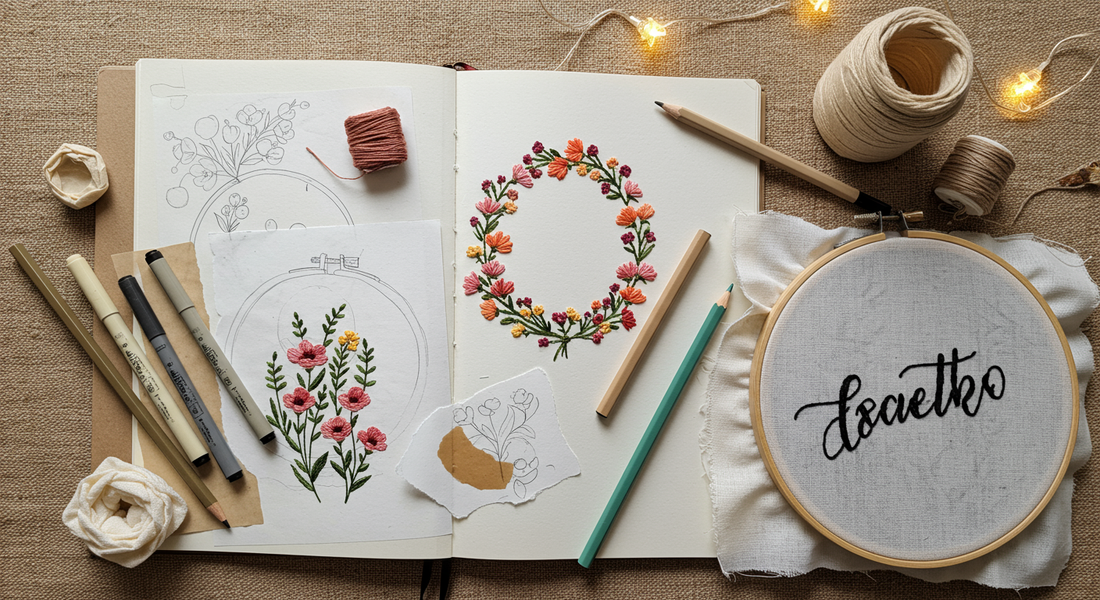
Drawing & Transferring Your Own Designs
Share
How to Bring Your Personal Sketches into Embroidery with Confidence
One of the most rewarding parts of hand embroidery is the ability to turn your original artwork into stitched creations. Whether you're doodling florals, sketching characters, or writing quotes in your handwriting, translating your ideas from paper to fabric allows for a deeply personal connection to your embroidery work.
In this guide, we’ll explore techniques to help you sketch, refine, and transfer your designs successfully—no professional art background required.

1. Sketching Your Design
Start Simple
You don’t need to be a trained illustrator to create embroidery-ready sketches. Begin with:
- Basic line drawings
- Repeating motifs (flowers, stars, leaves)
- Abstract shapes or silhouettes
- Handwritten text or calligraphy
Tip: Keep details minimal. Embroidery doesn’t reproduce tiny elements well—simplified, bold lines translate best.
Tools for Sketching:
- Pencil and eraser
- Fine-tip pen or marker for final outline
- Tracing paper to refine shapes
- Digital tablet for clean edits (optional)
2. Sizing and Composition
Consider how your design will sit within the embroidery hoop or fabric area:
- Use a printed hoop template as a guide
- Leave margins around the edge of the design
- For wearables, test placement by taping a paper sketch to the garment and wearing it
Pro tip: Create multiple sizes of the same sketch so you have options depending on hoop or fabric size.

3. Transferring Your Design to Fabric
There are multiple ways to get your design onto your fabric surface:
Light Transfer (Tracing)
Best for: Light-colored, non-stretch fabrics
- Place your fabric over the design on a lightbox or bright window
- Trace using a water-soluble pen, heat-erasable pen, or chalk pencil
Iron-On Transfers
Best for: Cotton or linen
- Print or draw your design with an iron-on transfer pencil
- Flip the design and iron it onto fabric (reverse text if needed)
Carbon Transfer Paper
Best for: Detailed or delicate sketches
- Sandwich carbon paper between the sketch and fabric
- Trace over the lines with a stylus or pen
Water-Soluble Stabilizer
Best for: Dark or textured fabrics
- Print the design onto the stabilizer
- Stick or hoop with fabric
- Stitch through and rinse when done
4. Choosing the Right Marking Tool
Match your tool to your fabric and design:
- Water-soluble pen: Blue or purple, washes out with water
- Heat-erasable pen: Disappears with an iron (may reappear in cold!)
- Tailor’s chalk: For temporary lines on dark fabric
- Pencil: Can smudge or be permanent—use with caution
Always test your tool on a fabric scrap first!

5. Lettering & Text in Embroidery
Adding words brings personality to your designs:
- Use a favorite handwritten style, or trace from a font
- Try tools like Calligraphr or Canva to create layout-ready text
- Mark baseline lines to keep letters even
Recommended stitches: Backstitch, split stitch, chain stitch
Final Thoughts
Bringing your own designs to life through embroidery is a satisfying, creative process. Whether freehand sketching or editing a digital motif, you don’t need perfection—just intention and playfulness. With the right transfer technique, you can confidently stitch your imagination into every thread.