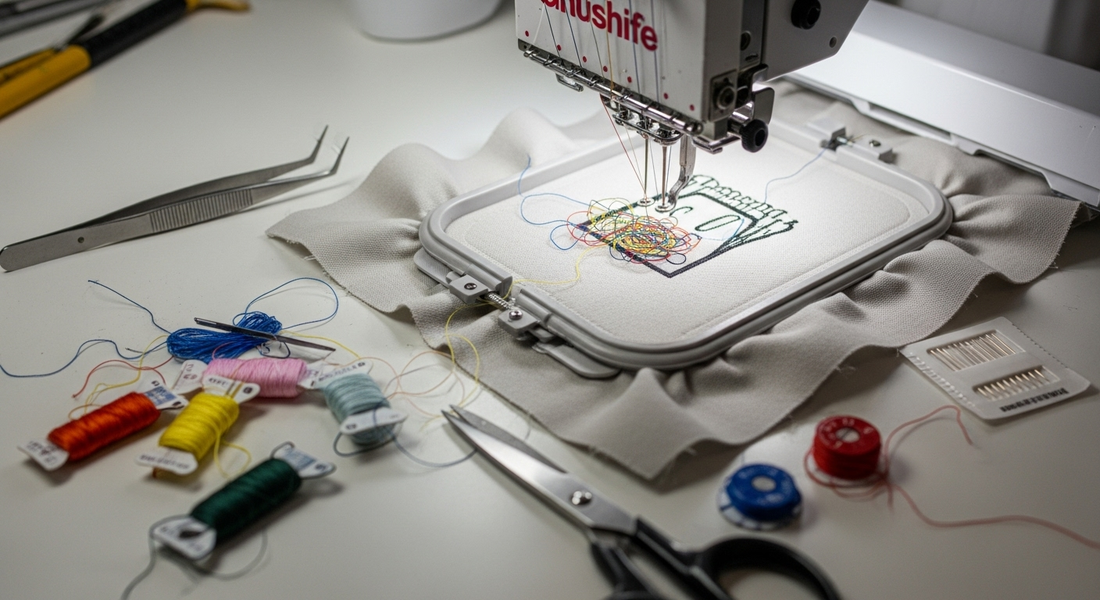
Common Machine Embroidery Problems and How to Fix Them
Share
Even with the most advanced embroidery machines and premium materials, problems can still arise during stitching. Thread breaks, misaligned designs, puckering, or birds' nests under the hoop are all common—but luckily, most are easily preventable or fixable. In this article, we’ll cover the most frequent machine embroidery issues and walk you through practical solutions to get your project back on track.
1. Thread Breaks
Symptoms: The upper thread snaps frequently during stitching.
Causes:
- Old or poor-quality thread
- Incorrect thread tension
- Needle is bent or dull
- Incorrect needle size for fabric
- Machine not threaded properly
Solutions:
- Use high-quality polyester or rayon thread
- Rethread the machine, ensuring it passes through all tension points
- Replace the needle (use the right type for your fabric)
- Lower the speed slightly if stitching fast

2. Skipped Stitches
Symptoms: Gaps appear in the design, or parts of the pattern aren’t stitched.
Causes:
- Bent or dull needle
- Improper hooping or loose fabric
- Incompatible stabilizer
- Incorrect thread tension
Solutions:
- Replace the needle immediately
- Re-hoop the fabric tighter and use the right stabilizer
- Run a tension test and adjust settings accordingly
- Slow down stitching speed if needed
3. Puckering or Fabric Distortion
Symptoms: The fabric wrinkles or puckers around the stitches.
Causes:
- Fabric wasn’t hooped tightly
- Incorrect stabilizer (too weak or not used)
- Stitch density too high
- Design too large for fabric type
Solutions:
- Use a cut-away stabilizer for stretchy or lightweight fabrics
- Decrease stitch density in the design software
- Pre-wash fabric to reduce shrinking
- Make sure the hoop is tight but not stretching the fabric
4. Bird’s Nesting Under the Hoop
Symptoms: A tangled mass of thread builds up under the fabric.
Causes:
- Improper threading of upper or bobbin thread
- Lint or debris in the bobbin area
- Bobbin tension too loose
- Hooping issues
Solutions:
- Rethread both top and bobbin threads
- Clean out the bobbin case with a brush
- Reinsert bobbin correctly, ensuring proper tension
- Ensure fabric is securely hooped and stabilizer is flat
5. Misaligned Designs
Symptoms: Different sections of a design are out of place or not aligned correctly.
🔍 Causes:
- Hooped fabric shifted during stitching
- Incorrect hoop size
- Poor machine calibration
- Design split incorrectly
Solutions:
- Double-check alignment before starting
- Use a basting box to secure fabric inside the hoop
- Use sticky stabilizers or temporary adhesive spray to prevent shifting
- If issue persists, have your machine professionally serviced
6. Needle Breakage
Symptoms: Needle snaps during or before stitching.
Causes:
- Hitting the embroidery hoop
- Wrong needle for fabric or design
- Poor digitizing with too many tight curves or dense layers
- Fabric too thick for needle size
Solutions:
- Always double-check needle clearance before stitching
- Use appropriate needle types and sizes (e.g., ballpoint for knits, sharp for woven)
- Avoid metallic threads unless using specialized needles
- Slow down stitching speed for complex designs
7. Design Looks “Off” or Incomplete
Symptoms: The stitched result doesn’t match the preview.
Causes:
- Incomplete or corrupted design file
- Wrong file format or incorrect hoop size
- Machine skipped part of the design
Solutions:
- Re-download or re-export the design file
- Verify file format compatibility (e.g., use .PES for Brother)
- Make sure the full design fits within your hoop’s stitching area

Conclusion
Embroidery issues are a natural part of the process—even professionals encounter them. What sets successful embroiderers apart is the ability to diagnose and resolve problems quickly. With proper machine maintenance, careful setup, and attention to detail, you’ll prevent most issues before they begin and recover from setbacks with confidence.