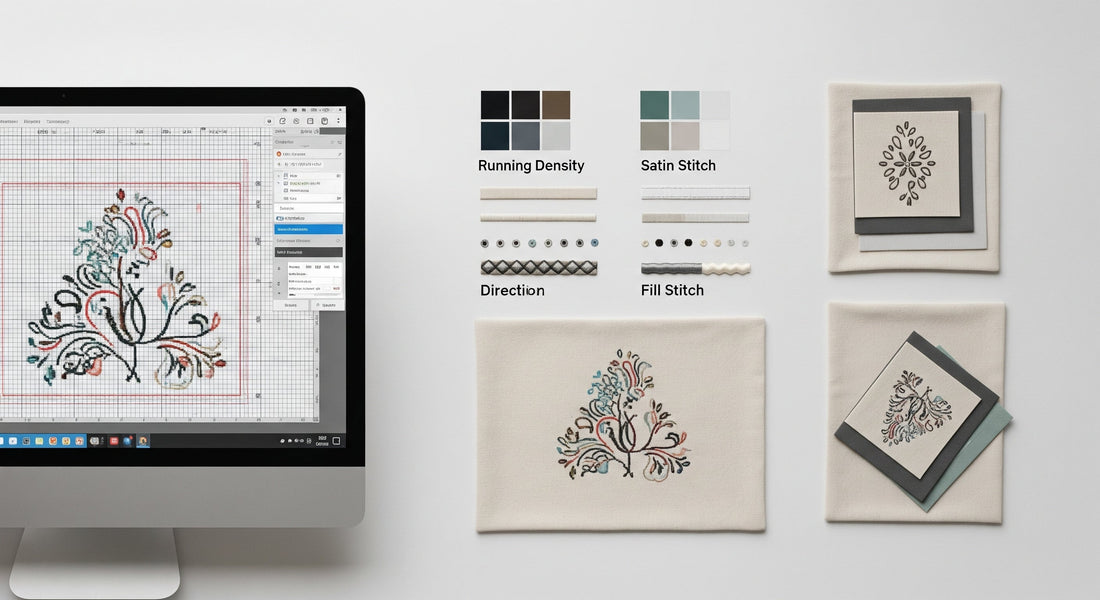
Anatomy of an Embroidery Design
Share
Understanding the Structure and Elements of a Digital Embroidery File
Every embroidery design—whether simple or complex—is made up of layers of carefully structured data. If you're using an embroidery machine, knowing what goes into a digital file (like DST, PES, JEF, etc.) will help you troubleshoot, customize, and create better results.
This article breaks down the basic building blocks of a digital embroidery design.

1. Stitch Types
Digital embroidery files contain instructions for various stitch types. Common stitch types include:
- Running Stitch: A simple, continuous line. Often used for outlines or fine details.
- Satin Stitch: A dense, glossy fill used for borders, text, or decorative shapes.
- Fill Stitch (Tatami): Used to cover larger areas with a patterned or textured appearance.
- Jump Stitch: A connector stitch between unlinked areas. Most machines trim these automatically.
2. Design Layers
Embroidery designs are created in layers to control the stitching order. A typical structure might look like:
- Underlay stitching (for stabilization)
- Fill or satin stitch areas
- Borders or decorative outlines
- Detail accents (e.g., highlights or eyes)
Stitch order affects quality—always preview in embroidery software before stitching.
3. Color Blocks
A color block is a section of the design that uses one thread color. Embroidery machines stop at the end of each block to allow color changes.
- Most design files list the sequence of color changes.
- You can substitute thread colors to match your preferences.
- Software allows you to combine, split, or reorder color blocks.

4. Stitch Density & Direction
These properties control how the thread is laid out:
- Density: Refers to how closely stitches are placed. Higher density = more thread and stiffness.
- Angle/Direction: Controls the visual flow and sheen of stitches.
Good digitizing involves balancing density to prevent puckering or thread breaks.
5. File Size & Hoop Compatibility
Every machine has limitations on hoop size and stitch count.
- Always check design dimensions before stitching.
- Resize designs only in proper embroidery software to preserve stitch integrity.
6. Hidden Data & Metadata
Advanced embroidery files include extra settings:
- Thread brand codes (e.g., DMC, Madeira)
- Trim & jump commands
- Start/stop position
- Stitch count
This data helps machines operate efficiently—and helps you track your project.

Final Thoughts
Understanding the anatomy of an embroidery design empowers you to get cleaner, more professional results—especially when editing or digitizing your own files. As you explore designs (like the ones on Stitchesly!), knowing what lies beneath the stitches helps you create with intention.